Wood Fired Ceramic Kiln – Kiln Construction
After all the design work and all the logistics of getting the materials ordered and on-site, it’s time to build! While this was the shortest aspect of the project it was the most labor intensive!
The build process started well before the bulk of the materials arrived with the construction of the molds for the castable refractory. With low grade 1/2″ plywood and 2×4 studs, all the molds were made based on the design. A relatively high density of screws were used in the bottom plywood into the 2×4 material in order to ensure that it remains rigid.

The firebox door mold in the woodshop
The mold sides only were as high as the design required to make it easier to know that it was full. Once the molds were built they were painted liberally with vegetable oil to provide a water proof coating. As a side note, both fresh vegetable oil and that which had already been used for frying worked fine. Fourteen molds ranging in size required about three quarts of oil.

Molds being painted with oil
Once the molds had been adequately oiled the refractory was mixed. A small cement mixer from Harbor Freight was used to mix the refractory,

Small cement mixer for the castable
The castable instructions give water weight components for both vibration (8.6%) molding and hand pouring (9.0%). All water and castable weights were calculated ahead of time. One additional consideration for the castable refractory is strength. Six of the cast pieces span the width of the kiln chamber and the modulus of rupture was of concern. When using castable refractory, stainless steel refractory needles (also called melt extract) an be mixed in to increase strength of the final piece.

 SS Refractory Needles
The needles were used at the ratio of 1.25 lbs/cu.ft and were obtained from http://www.newhorizonstore.com for $2.95 per pound. The refractory was mixed for 5 minutes and one mold’s worth of refractory was mixed at a time. A hammer drill with a drill bit installed backwards was used as a mold vibrator. The refractory was eerily fluid when under vibration and quite solid otherwise. For larger molds a piece of wood was laid across the width of the mold in order to couple the vibration to the refractory to get it to settle into the shape of the mold. After vibrating for five minutes or so plastic was laid across the top of the mold and left for 24 or greater hours at greater than 60F. Because the mold bottom was only 1/2″ they were laid on flat concrete to cure for additional support.
Moving outside for the stacking of bricks. The weather was not great but wasn’t unbearable. Although given the magnitude of work and the time I didn’t have, I called in backups for help in moving and stacking bricks. Below are several pictures of the brick stack. All bricks were stacked dry (no mortar) and held in place only by gravity and other bricks. In order to facilitate the construction process, a set of instructions were produced ahead of time that functioned much like the directions in a lego set. Each layer of bricks was called out and displayed seperately including how many of each type of brick were needed for each layer. Due to an inability to remain safe doing so with equipment on hand, the chimney was stacked only 8′ tall instead of the 12′ design.


One of two firebox lids being de-molded.
After the bricks had been stacked it was time to de-mold the castable refractory and set them in place. The part was done just before lighting the first fire so that the castable wouldn’t freeze before the heat cure. The wood from the molds was used during the first firing.
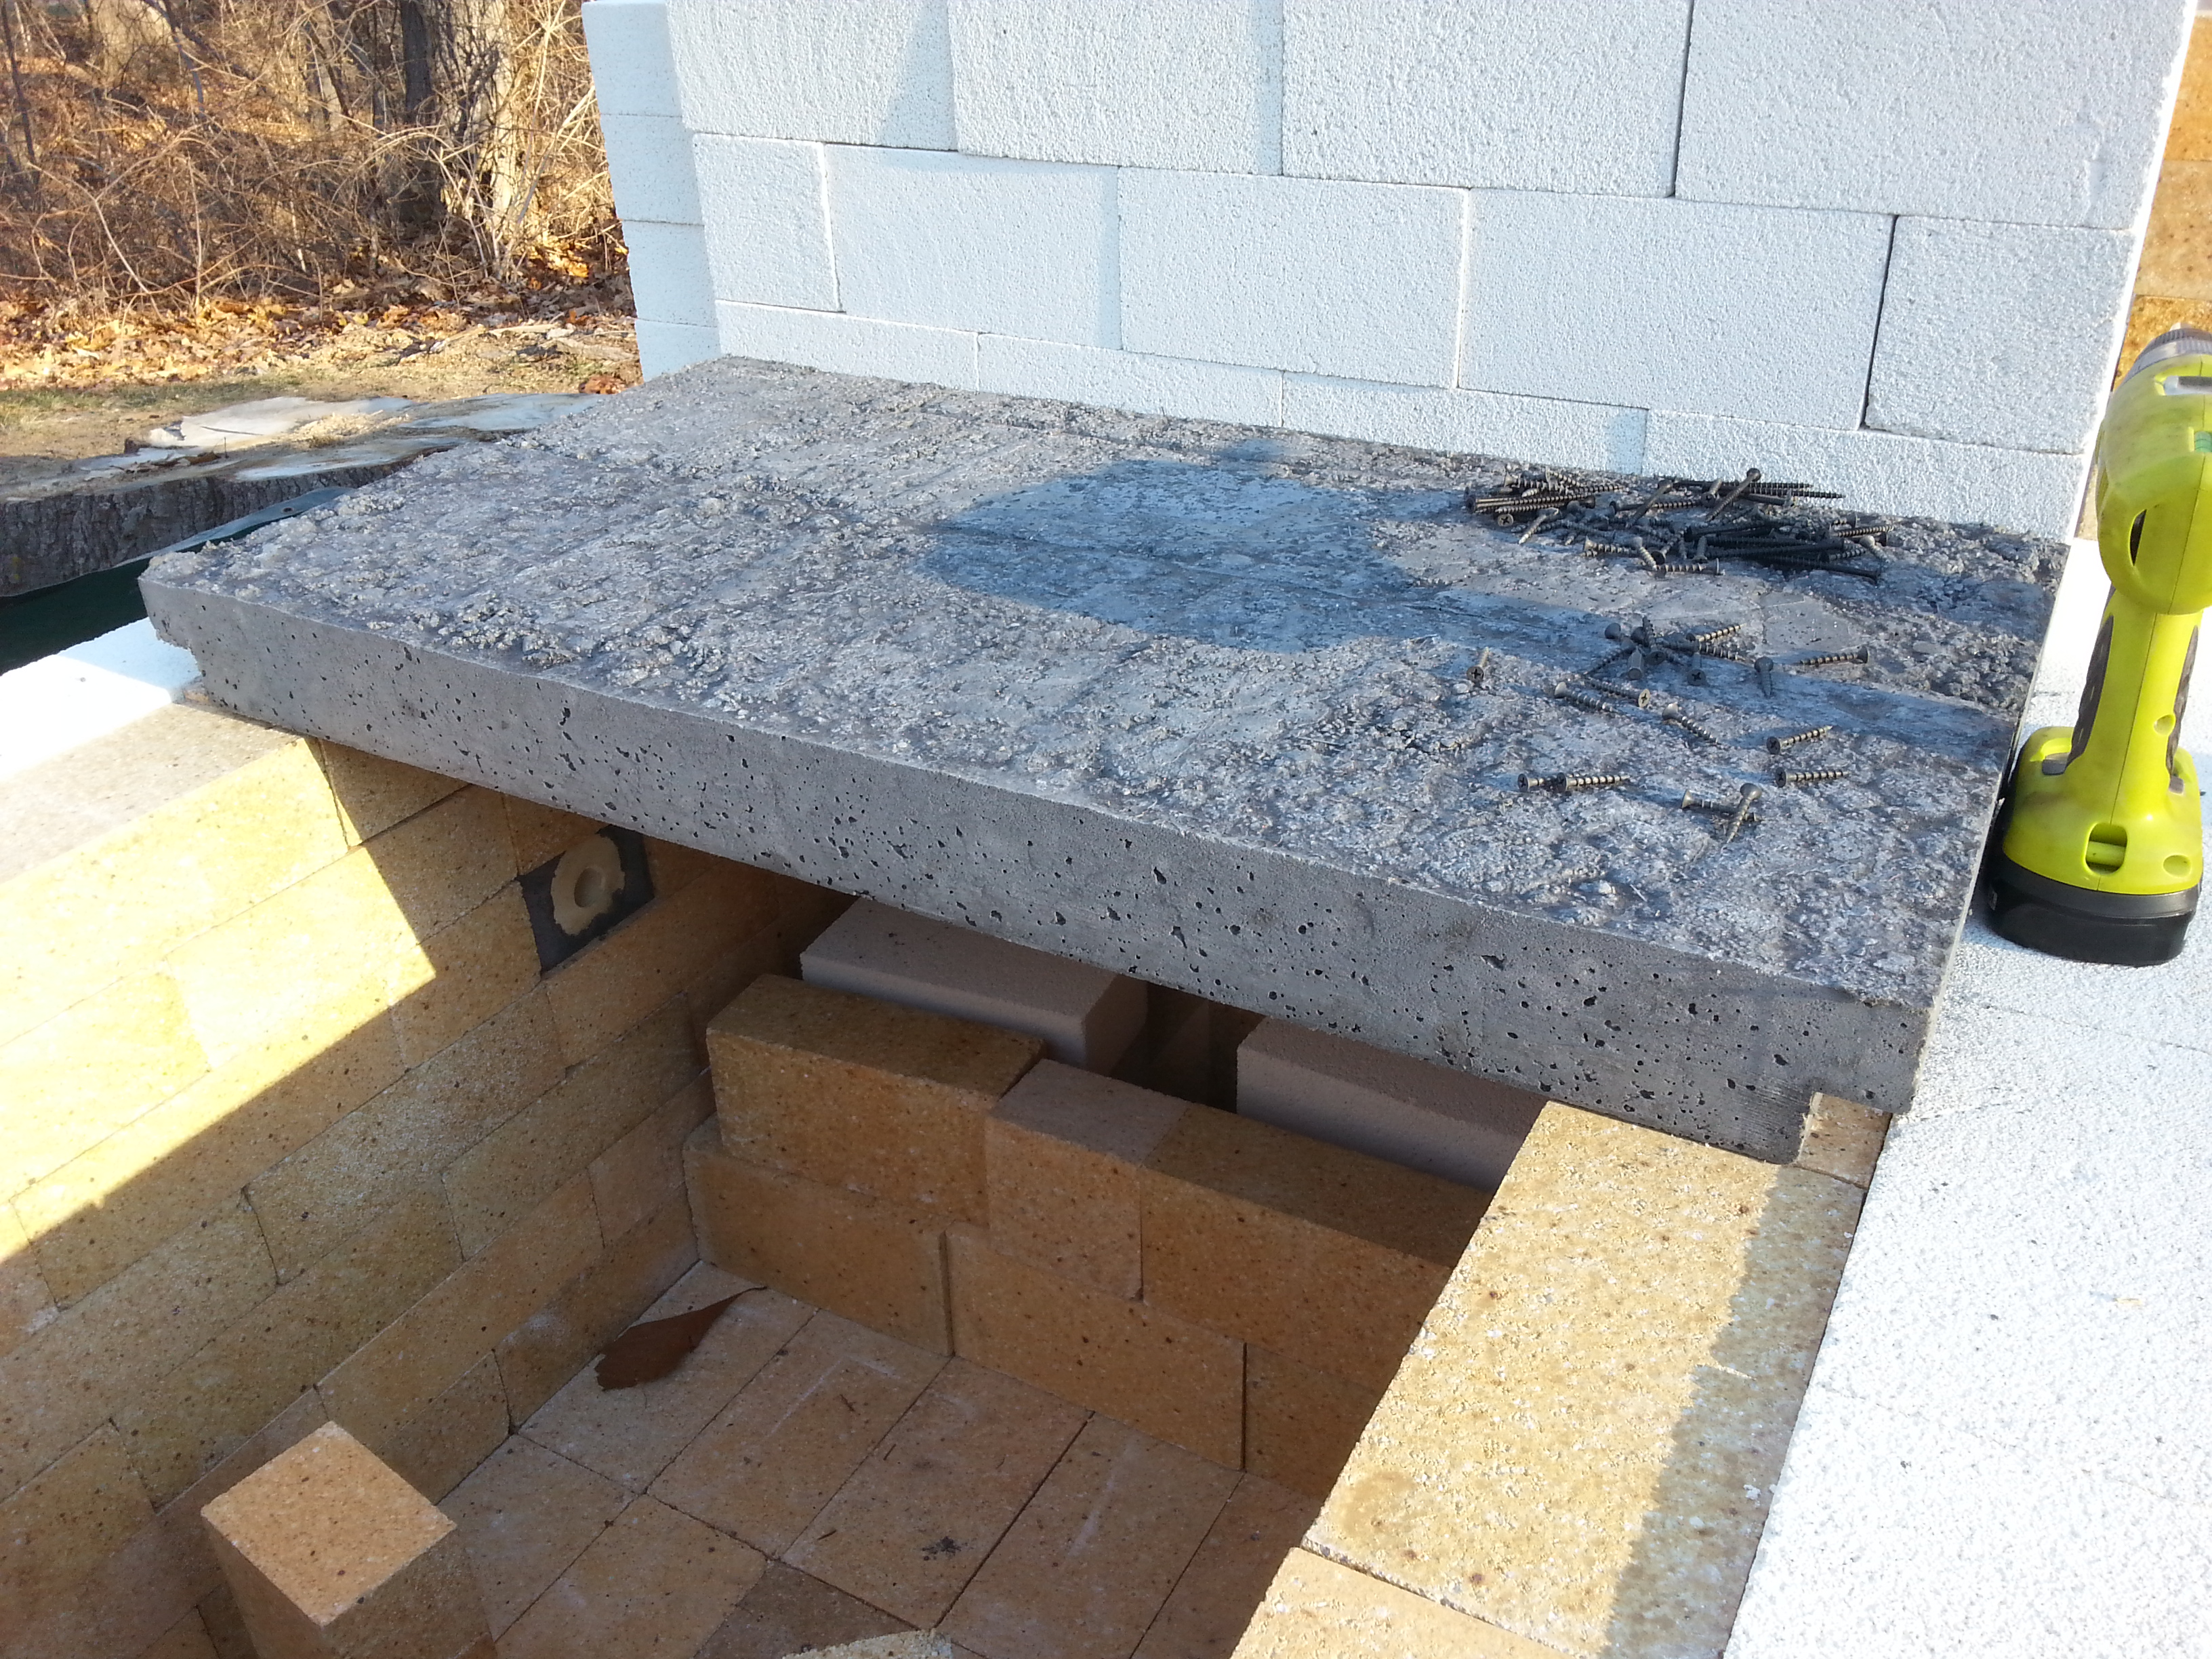
Two of six chamber lid pieces de-molded and set in place
Once all of the refractory was de-molded it was time to prepare for the first firing.

Leave a comment